“Souffle.”
Did you get a little scared?
The very word is enough to make most home cooks start shaking in their oven mitts. People dread the idea of making a souffle — it seems so fancy, so finicky, so… French.
In fact, most Texans (and probably most Americans in general) have never made a souffle! And that’s a cryin’ shame, because when it comes down to it, there’s no dish as light, delicious, or impressive to serve your lunch guests.
All you need is a little understanding of the science, willpower enough to keep the oven door CLOSED, and an appetite for your sunken mistakes.
Souffles can be sweet or savory, but as far as savory souffles go, spinach is the O.G. When I worked in an old-school French kitchen, we made them for lunch all the time. So naturally, when I was deciding what to do with the Malabar Spinach rambling all over my garden, a souffle came immediately to mind.
This, in my not-so-humble opinion, is a great use for this veggie! If you’d like to know more about what Malabar Spinach is, read all about it here.
Let’s get cooking.
Here’s what you’ll need:
Hardware:
- Oven preheated to 400
- 4 4-oz ramekins
- electric mixer (handheld or standing)
Software:
- 12 oz fresh Malabar Spinach leaves
- splash of your favorite cooking oil
- 1-2 minced garlic cloves (optional)
- 4 Tbsp butter, plus extra for buttering ramekins
- 4 Tbsp AP flour
- 4 Tbsp Parmesan cheese, grated
- 1 cup whole milk
- fresh nutmeg
- 3 eggs, separated
- Salt and black pepper
Method:
First harvest your Malabar spinach.

This is actually just one single plant. It looked even bigger in person — over 12 feet long!

Most of the plant’s mass was just the stems and big thick older leaves that didn’t look appetizing. So I picked off the younger, unblemished leaves and threw all the vines and berries into the compost!

Next step was to wash and spin the leaves dry.

Chop ’em up!
Saute those leaves up with a little oil (and some garlic if you like). Add some salt. Salt is important here because it will help draw the water in the leaves out so it can evaporate.

Keep cooking the greens until most of the water evaporates. Remember, we’re not using real spinach here. Malabar Spinach leaves are a lot like succulent leaves — that is to say; they’re full of water. True spinach might only need a quick saute, but leave your Malabar spinach to cook longer and evaporate that water off.
Here they are, nice and dry. (Notice they’ve lost quite a lot of mass.) Go ahead and set this aside.

The next step is to butter your ramekins and coat them with Parmesan cheese.

Just get in there with nice clean hands and smear a little butter around the ramekin, coating the bottom and sides.

Then add a tablespoon of the cheese and tilt the ramekin around to adhere it to the sides. Any cheese that doesn’t stick can go in the next one.
Now, this next step is critical: Separate your eggs.
You cannot, and I mean CANNOT, get a single drop of egg yolk in your egg whites. If you get even the teensiest speck of yolk in the whites, don’t use them! (I’d just whisk them together and save for scrambled eggs.)

Okay, so you’ve got each of them in their own bowls and your egg whites are clean and pristine… great! Leave those sit for a minute while we move onto the next step:
Make a roux!
Roux is a French word, pronounced “roo,” and it’s used as a thickener. It can be summed up with a simple equation:
Equal parts flour + fat + heat = roux
Melt your butter and heat it, but not too much! We’re not making brown butter here.

Next, throw in your flour and whisk!

Cook your roux a minute or two to take out the raw flour taste.

Now add your milk all at once. Don’t gradually put it in because the starch will start to gelatinize immediately to create a super thick paste that won’t allow the remaining liquid to incorporate.

Whisk, whisk, whisk! You need to bring this liquid to a boil for the roux to reach its full thickening potential.

When it’s very thick, like this, remove it from heat.

Add in your reserved spinach.

Also grate in some fresh nutmeg! Not absolutely necessary to use whole nutmeg and a microplane, but definitely makes a tasty difference.
Now you’ve got what’s called a Souffle Base. BTW: You can prepare a base ahead of time and separate the eggs when you’re ready to make the souffles.
If you’re making your souffles now, proceed as follows:
Temper the hot souffle base into the three egg yolks. That means you gradually add the hot base to the egg yolks. Make sure you don’t put the egg yolks into the hot base! Always add hot to cold (not the other way around). Start by adding the base in increments of a tablespoon or so. As you gradually bring the temperature up, you can add more until everything is incorporated.

So now that our base is ready, we’re going to beat our egg whites. Make sure your bowl is super clean; you might even want to pour a little white vinegar in and wipe it out with a clean paper towel.

Add a pinch of cream of tartar, then beat your egg whites on high speed until peaks form.

Now, fold the whites into your souffle base


Pour into your prepared ramekins and bake at 400 for 20-25 minutes.

Tah Dah!

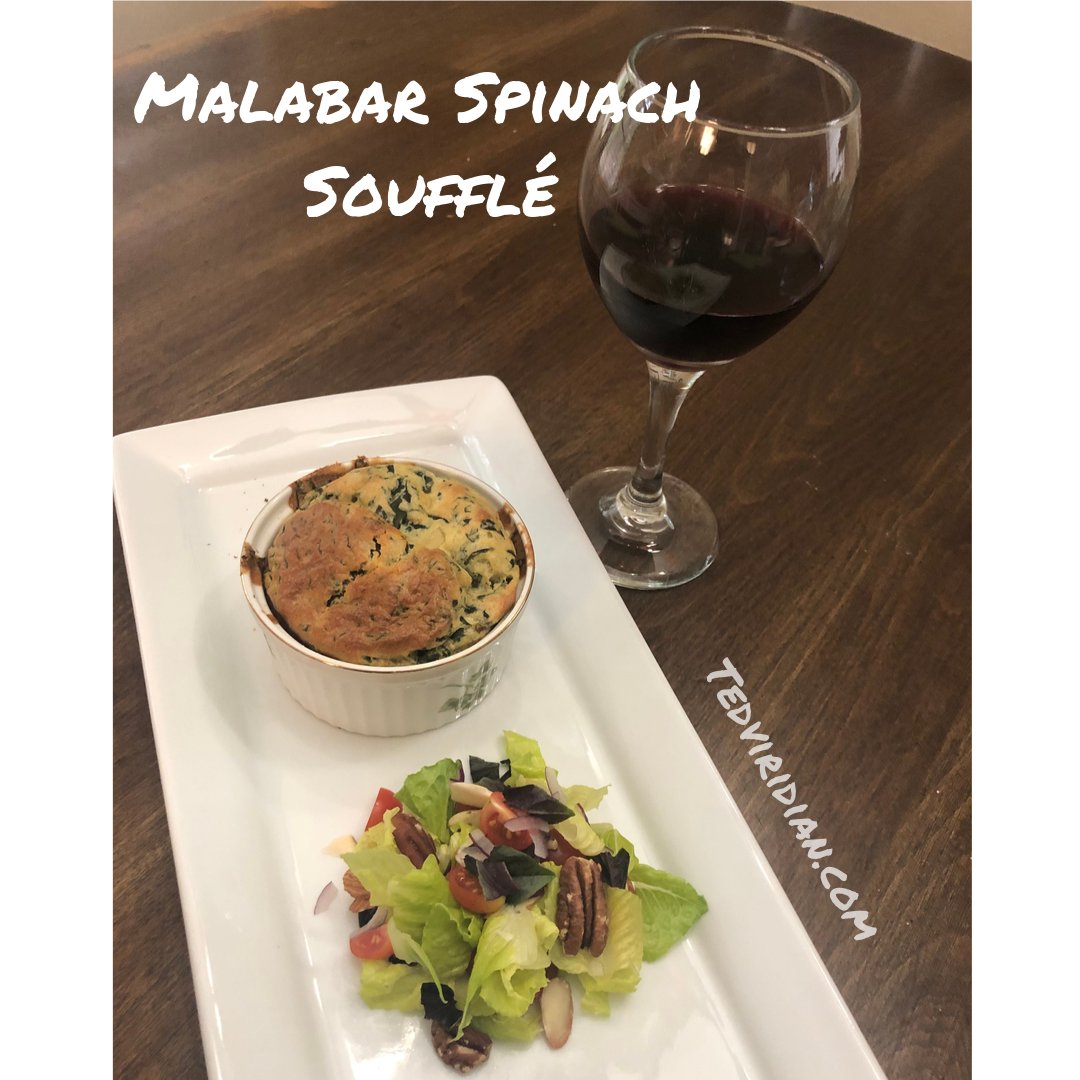
Once they’re done, serve them fast! As you can see, by the time I got around to taking this picture, the souffle had already started to deflate. I would suggest serving with a side salad and a nice glass of wine.

Bon Appetit! I hope I’ve convinced you to give this new spin on a French classic a try!
See you next time.


