
Ah, pizza. Arguably the most beloved food of the 21st century thus far. What’s not to love? Crust, cheese, and of course toppings offer practically unlimited creative expression. But there is one great pizza debate that threatens to create a schism among pizza lovers everywhere.
Does pineapple belong on pizza?
Hawaiian pizza (although actually invented in Canada) is the most contentious pizza choice, at least in my experience. Some people love it, while others just can’t wrap their head around why anyone in his or her right mind would put fruit on pizza.
I’m just going to say it, or type it rather. I’m Pro-Pineapple! The classic combination of sweet and salty is really a one-two punch of delicious. The saltiness of ham and the sweetness of pineapple just work. Why don’t you ask trendy salted caramel, classy prosciutto and melon, or heck, even trail mix!
If you’re still not a fan of fruit on pizza after all of those fine examples, well then I don’t know what else I can do for you.

Anyway, as much as I love pineapple, it’s not exactly something that you find growing by your doorstep in most of the US. Pineapples have to be grown far away and resources and pollutants have to be expended in order to bring them here.
Ordering pizza out all the time can get pricey, especially if you’re looking for a slice above the average nationwide pizza franchise.
And most of the premade frozen pizza is just… not the same. Either the crust is too thick, doughy, and bread like, or the toppings are skimpy and sparse. All around a disappointing experience.
The remedy is simple. If you want something done right, do it yourself!
And I’m not talking about taking the easy way out and getting one of those pre-baked cardboard Frisbees, either.
I’m talking making your own pizza dough.
“M-making dough? Isn’t that like… really hard?”
It’s really not. However, the secret to making pizza dough, or really any bread, is time. It’s not something that you can whip together 30 minutes before dinner. But with a little planning ahead, you’ll have beautiful pizza dough ready to go for Friday night. And you wont have to spend hours and hours kneading anything, either.
One technique you can employ is called retarding the dough.
“Wait… are you allowed to call it that?”
All it means is putting the dough into the refrigerator. The cold temperature slows the yeast down, allowing more flavor to develop.
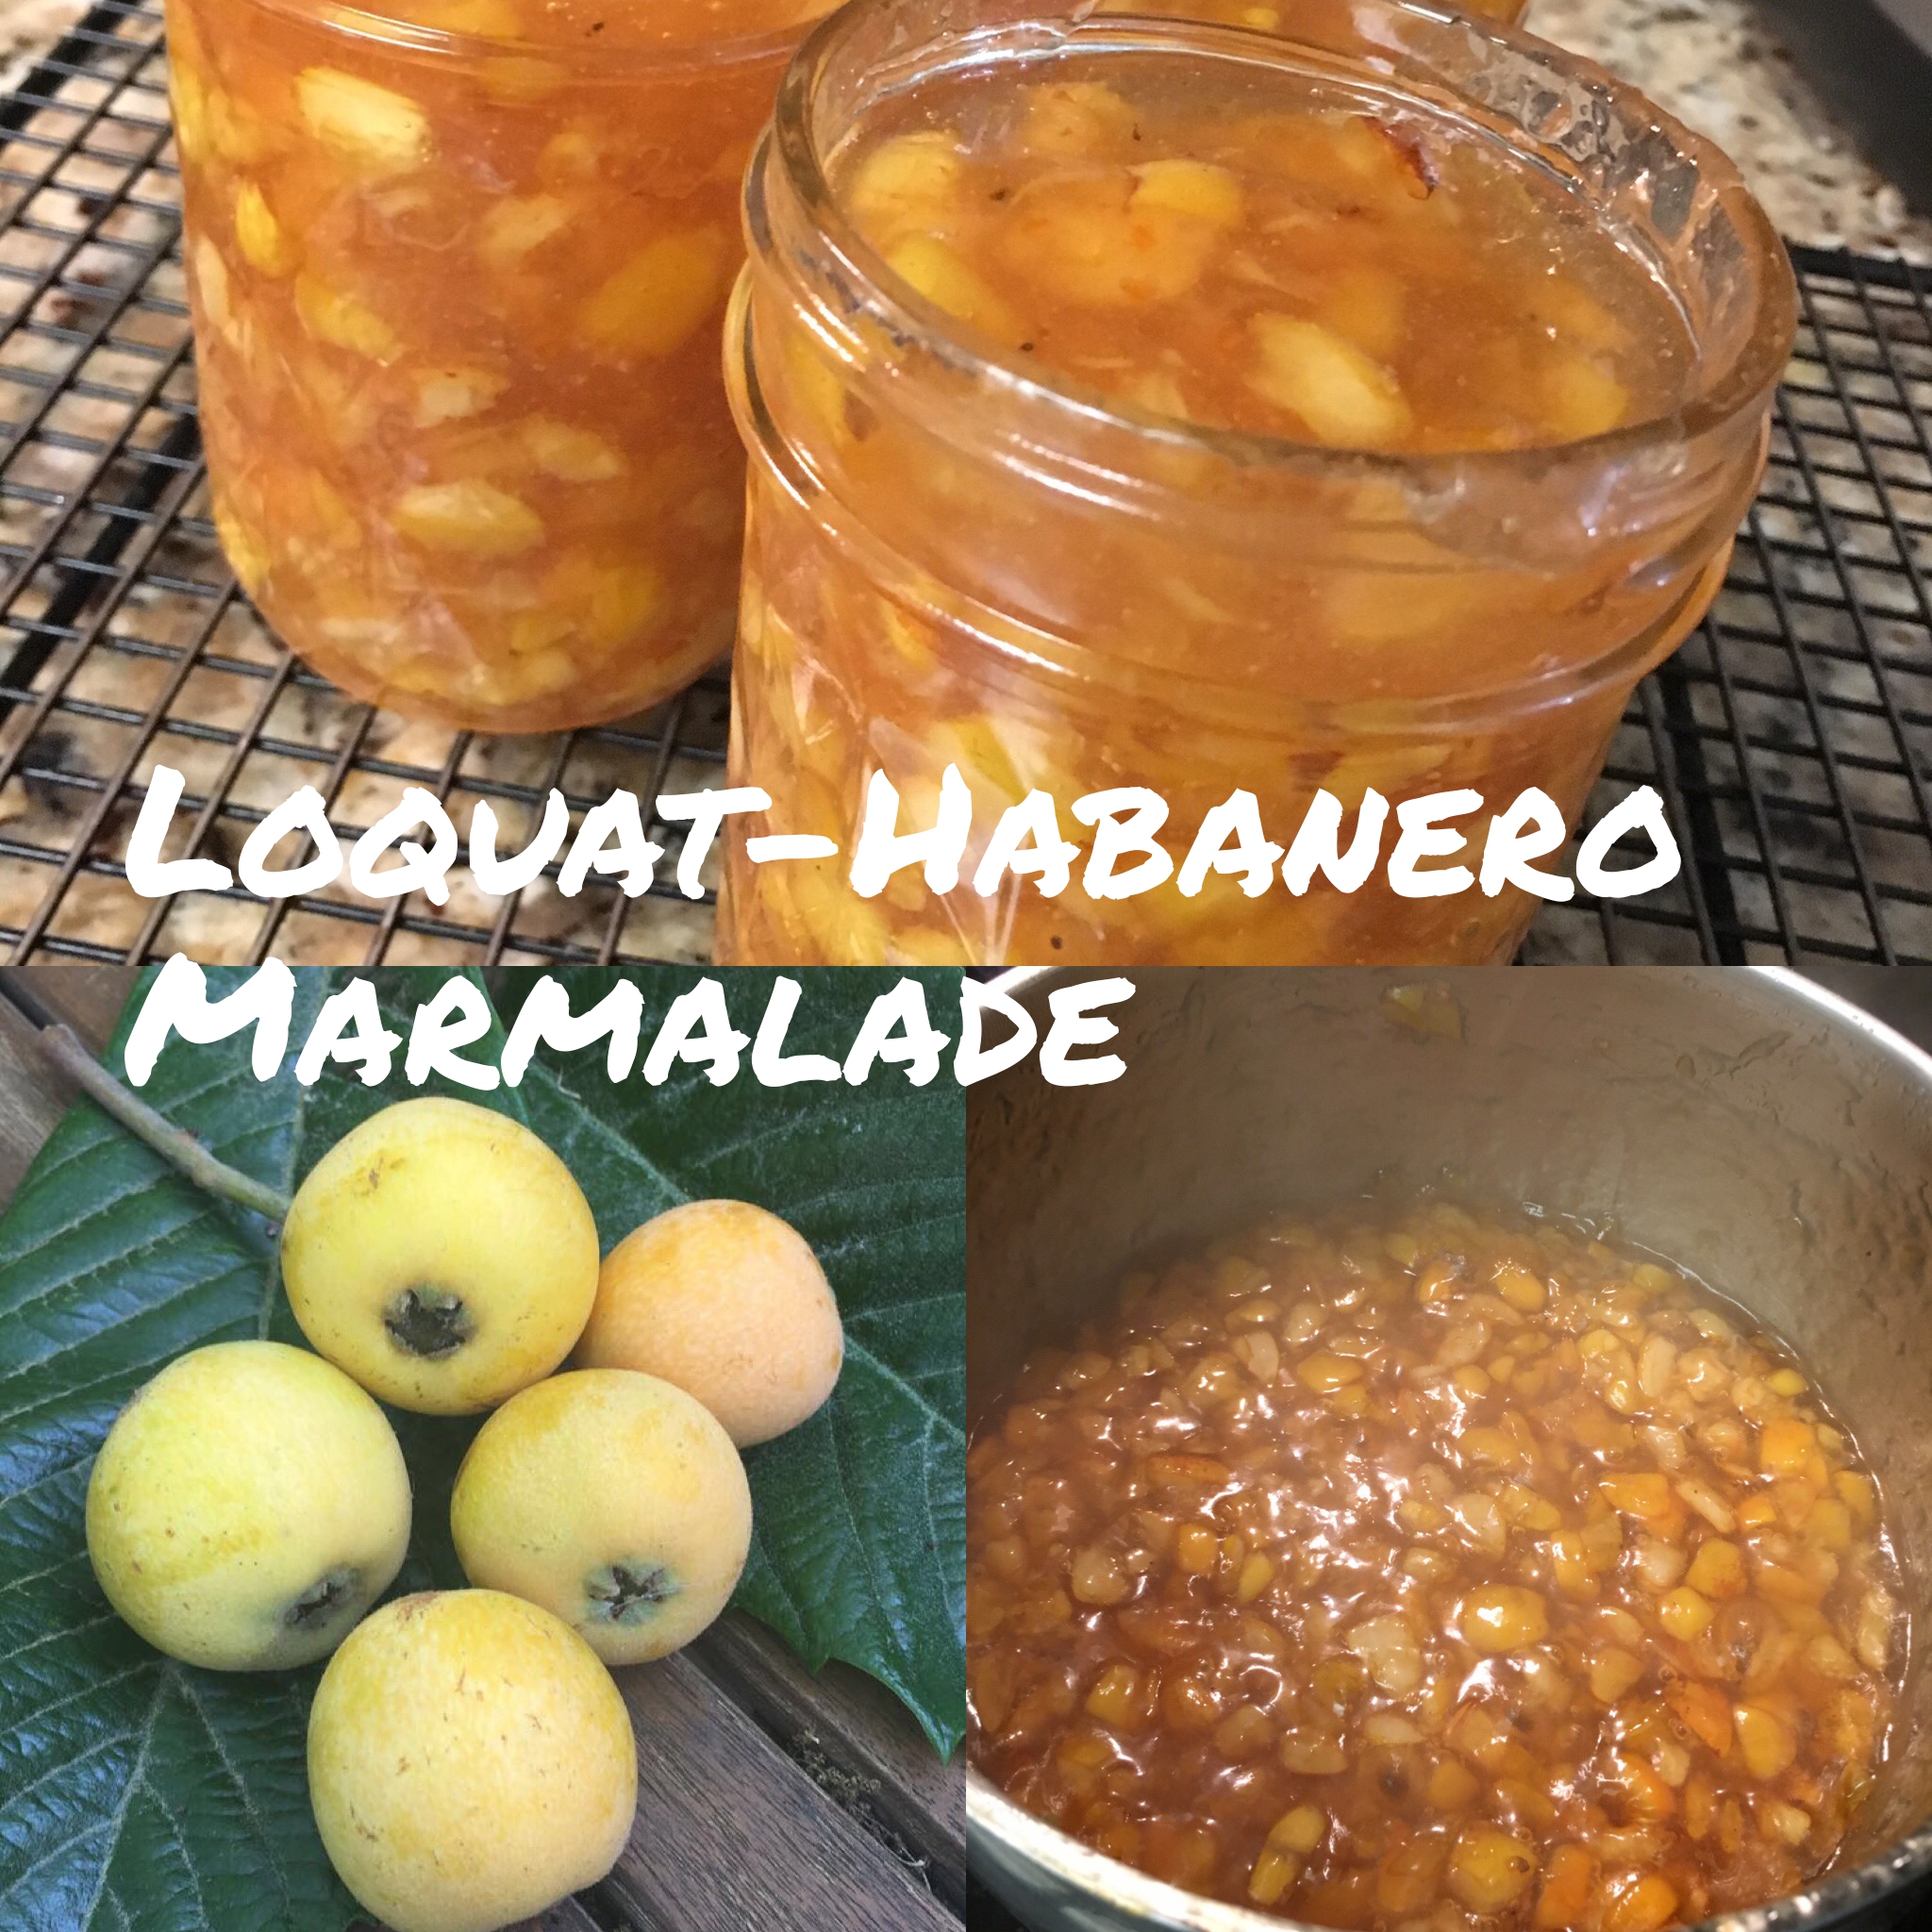
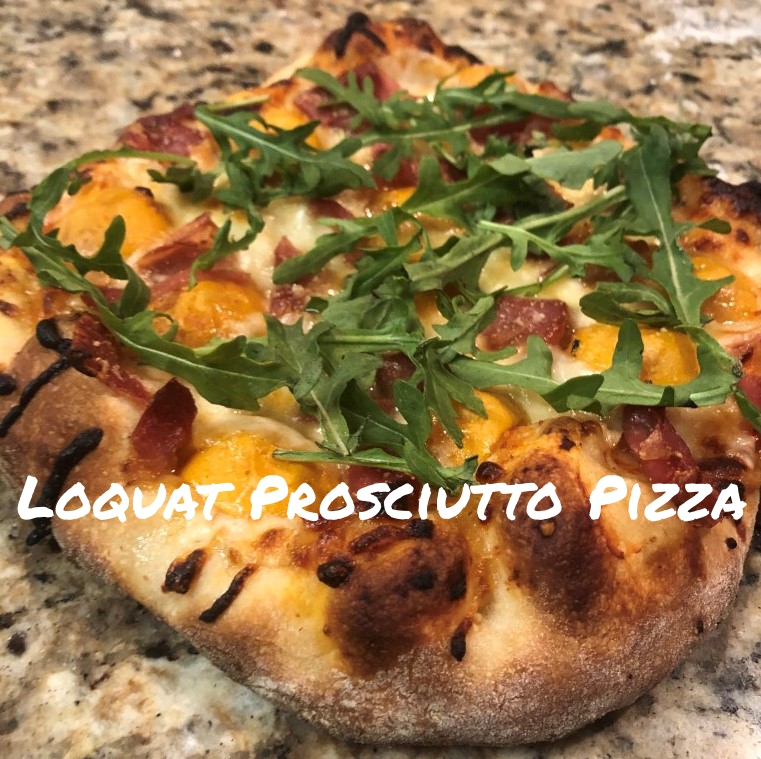
One day I was making pizza and thinking about adventurous new toppings and I had an idea. Loquats on pizza! They’re sweet and similar in acidity to pineapple so I figured I’d give it a try! I think it worked out really well!
Here’s what I did:
I started out with the pizza crust of course. Here’s my recipe:
Ingredients:
9 oz warm water (1 cup and 2 TBSPs)
0.2 oz honey (about a tsp)
0.3 oz active dry yeast (1 TBSP)
1 lb bread flour (3 ¼ cup)
0.3 oz salt (2 tsp)
1 oz olive oil, plus more as needed (2 generous TBSP)
For the pizza dough:
Dissolve honey in warm water. Add the yeast and proof until the yeast wakes up and the mixture starts to get foamy, about 5 minutes.
Combine olive oil and salt with the flour. You can do this in a stand mixer or a large bowl. Once the yeast mixture is ready, pour it into the flour mixture. If making by hand, mix dough together with a spatula until it comes together, and then knead by hand for 5-6 minutes. If using a stand mixer, mix at low speed for 3-4 minutes, and then on the next speed for another 5 minutes or so.
If you want to use the dough the same day, place into a bowl coated in olive oil, cover with plastic wrap and give it about 8 hours to ferment in a warm place. It will expand. A lot.
If you want to retard the dough (recommended!) place into a large Ziploc bag coated in olive oil and keep in the refrigerator about 24 hours to 2 or 3 days before using.
Okay, so now you’ve got your dough. I like to make individual mini pizzas because I think they’re easier to deal with.

Okay, put on your sauce, put on your cheese. Here’s where I added some quartered loquats all over the pizza.

Followed by some pieces of prosciutto or jamon iberico.

What I do now is I put my pizza on a pizza peel (or a large cutting board) and slide it onto a preheated pizza stone and bake in a 500 degree oven. What I like to do it put the stone in the oven before I turn it on. If you don’t have a pizza stone, I’ve seen tons of guides and hacks on the internet for this — you can get creative with a tile or flat rock. I haven’t tested it myself so I can’t attest to its efficacy, but worth a shot!

Keep your eye on it! Every oven is different but it’ll only take a few minutes!
Top with some fresh arugula and enjoy!