Alright! So maybe you’ve read my article about nopales, and you want to broaden your culinary horizons and give those those prickly paddles a chance.
And why wouldn’t you? They’re full of fiber, low in calories, and contain many vitamins and minerals, including vitamins A and C and smaller amounts of the B complex vitamins. Oh, and also, they’re free. If you live in a place where they grow, that is.
However, while nopalitos are nutritious and easy to find, if you’re planning on cooking them, then they do require a little work. If that sounds like too much of a commitment for you and you just want to try them, you can go to a grocery store or an Hispanic market and find them ready to go like this:

They’ve pretty much done all the work for you and you can use them in whatever recipe suits your fancy. (you may still want to read on to see a couple of the tricks I’ve figured out.) In Mexico, they’re made with eggs, used in soups, salads, as well as in tacos.
So the big question is…
What do they taste like?
Well, in my opinion, their texture and flavor are reminiscent of green beans, green bell peppers and okra with a subtle sourness due to their vitamin C content.
Maybe a little extra emphasis on the okra part. The first thing you might notice when you cut into them is that they’re slightly mucilaginous.
Slightly what??
Okay, that’s really just a five dollar word for, well, slimy.
Yeah, I’m not going to sugarcoat it. If you’re not careful and/or don’t know what you’re doing, you could turn your nopalitos into a gooey, slimy, horrible muck.
In fact, that’s pretty much what I did the first time I tried cooking these. But I’ve learned from my mistakes and learned that if you make them right, nopalitos can be really yummy.
First, though, let’s talk a little bit about this mucilaginous quality that nopalitos share with quite a surprising amount of other vegetables eaten all over the world.
It’s a texture that most Americans are uncomfortable with, with the possible exception of southerners who grew up eating okra.
If you’re a northerner like me who’s been transplanted to the south you probably experienced the initial shock of trying okra for the first time. I’ll admit — the texture can be very off putting, if you’re not used to it.
But keep in mind, tons of cultures from around the world enjoy foods with this texture. Ingredients like chia seeds which have been attracting attention for their health benefits, okra in the American south, Malabar spinach throughout Asia, dishes like egusi soup, which comes from western Africa, and natto from japan are just a few examples from around the world.
I’ll admit, I was not a fan at first. I consider myself one of the most adventurous eaters I know, but just don’t liking eating things that are slimy.
But… I will say that I’ve grown to appreciate veggies like okra, Malabar spinach, and nopales. Especially during the summer when most other veggies burn to a crisp under the Texas summer sun.
Mostly, I’ve learned how the mucilaginous qualities of these veggies can be mitigated!
One strategy used in traditional preparations is to use vegetables like this in soups, stews or curries where they actually help to add body to the liquid. The prime example of this is gumbo!
But you’re not limited to soups, there are other strategies you can employ to battle this sliminess as well.
Let’s get into it!
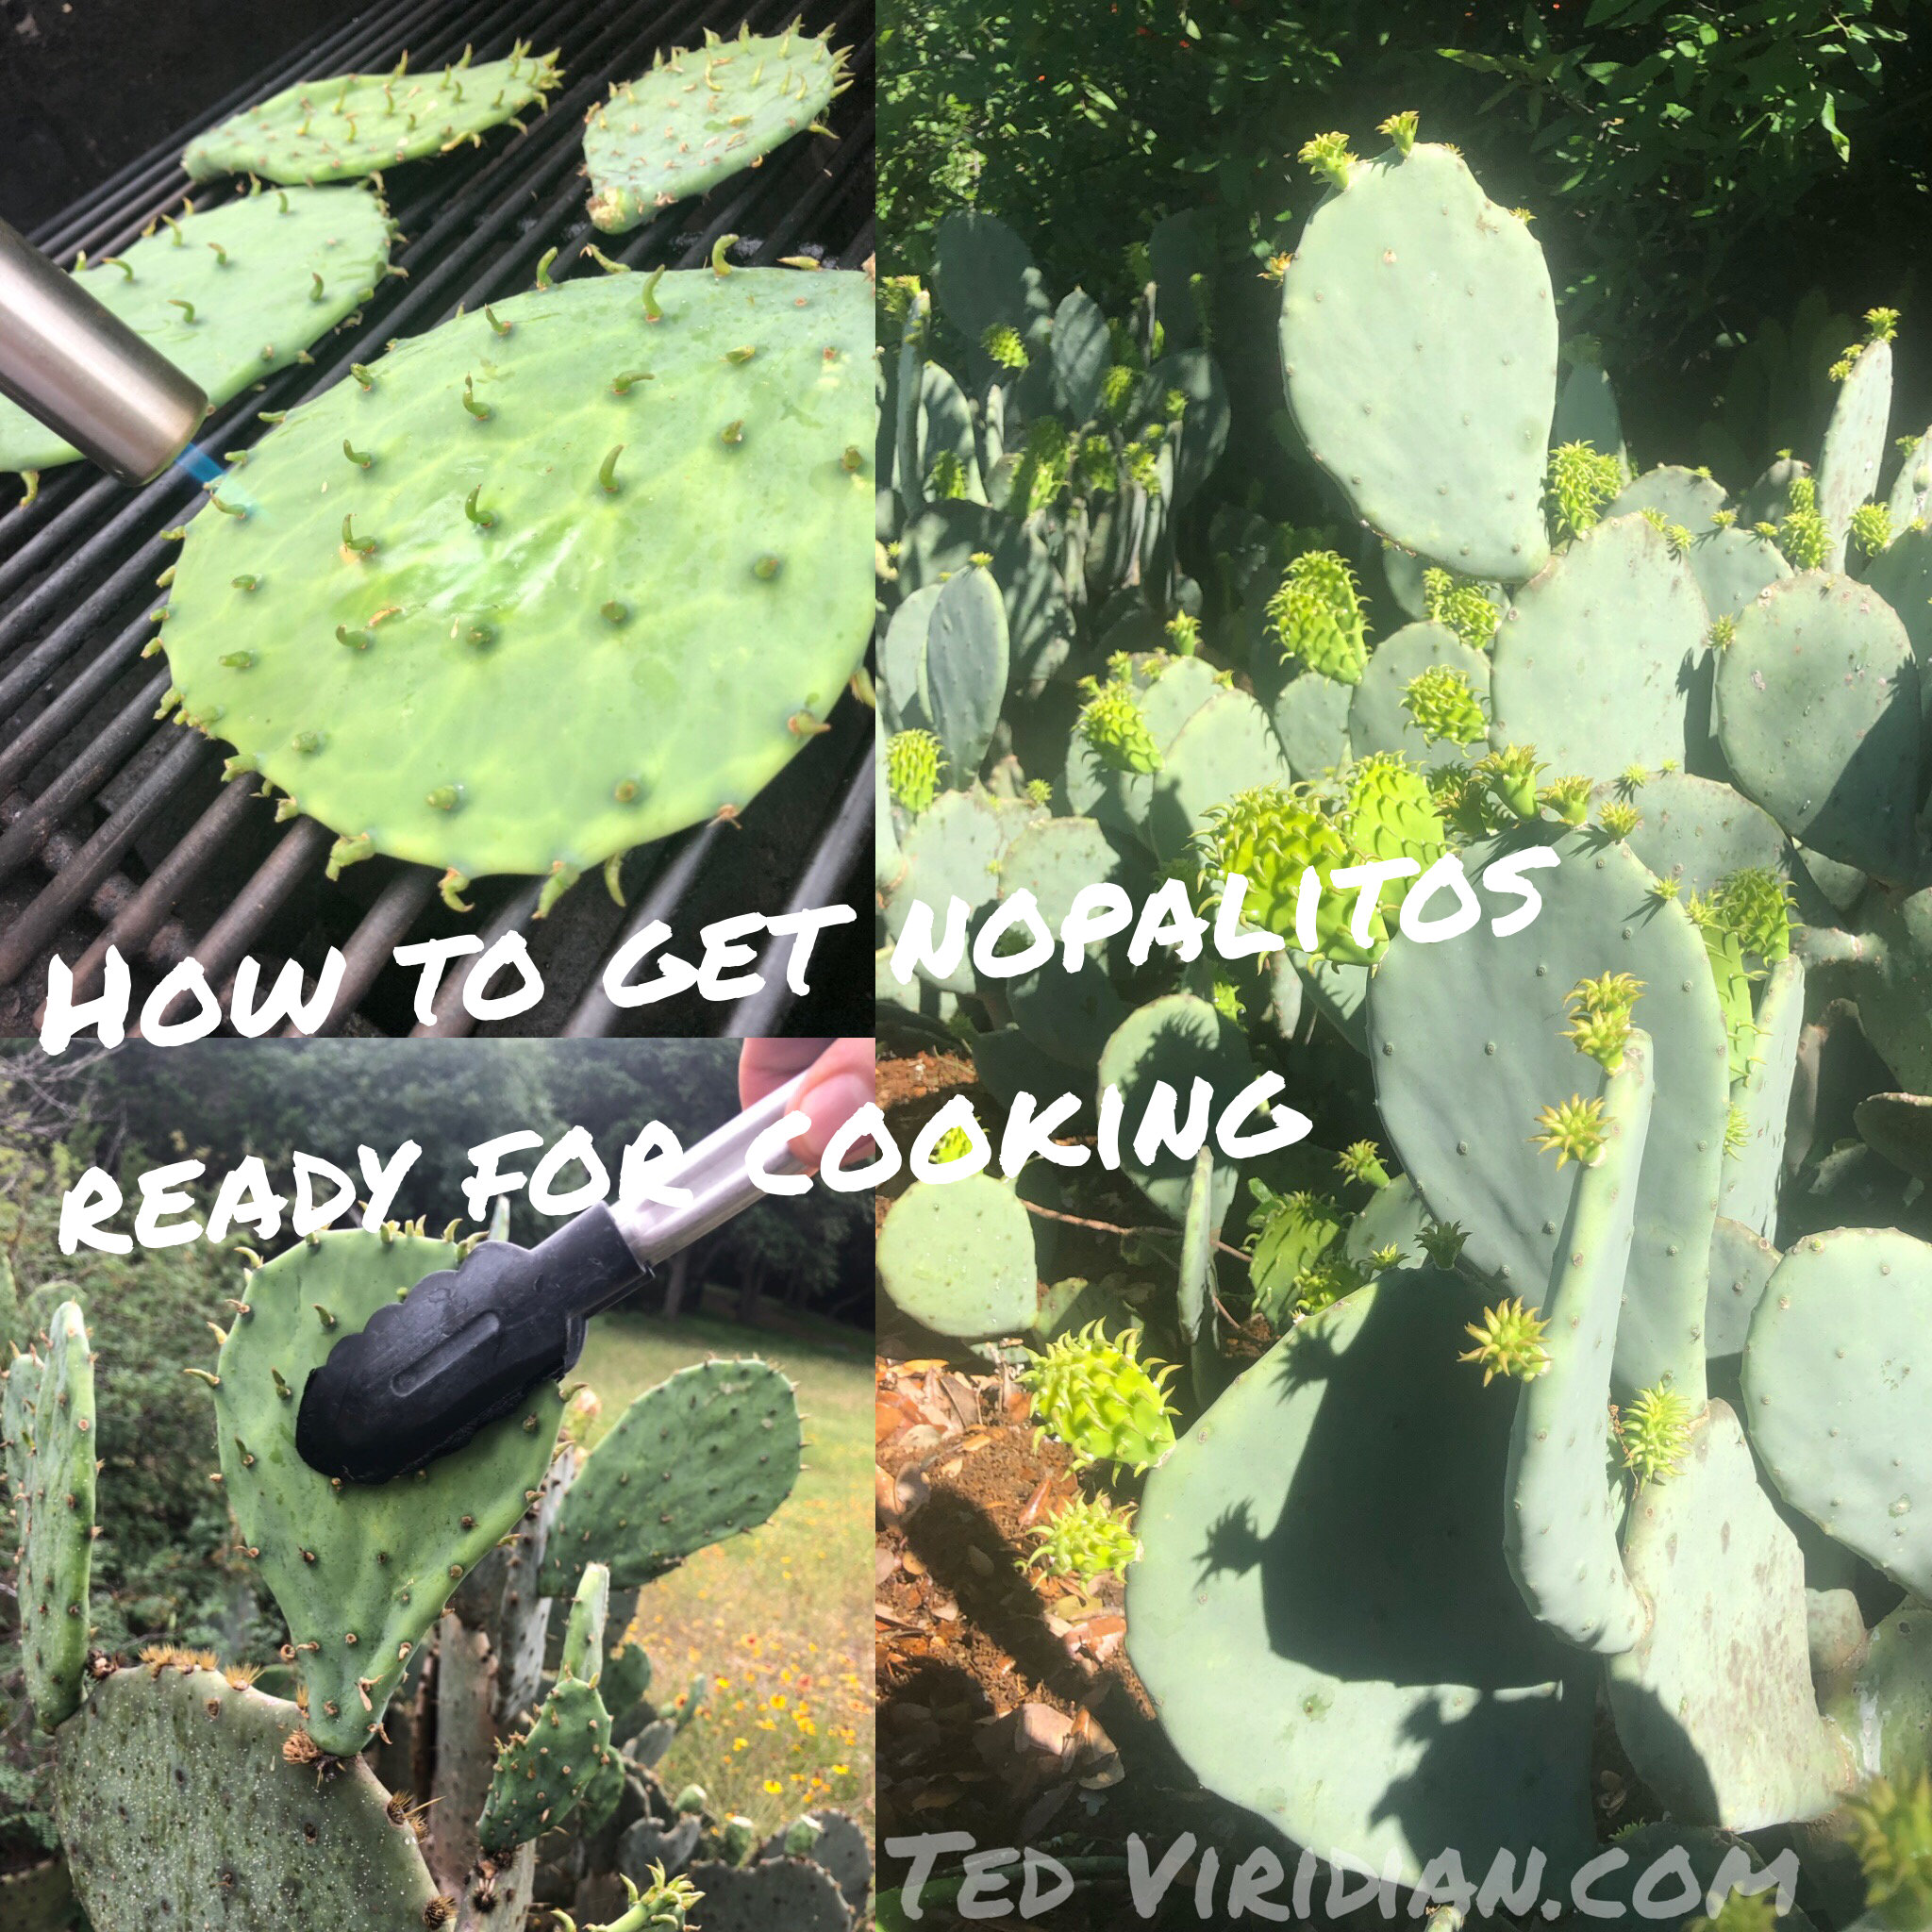
First thing you’re going to want to do is to locate your nopal cactus while it’s got some young pads on it in the spring. In south central Texas that’s usually around April to May. You want to pick them before they have grown completely to full size. If the pads are too old they can be woody and fibrous, kind of like the end part of asparagus that was harvested too late.
Found your cactus? Great, here’s what I do:
I grab a paper bag and a pair of tongs. What you’re going to do is grab the little nopalito with your tongs and give it a twist.

Put the nopalito in your paper bag and repeat!
Next, I lay all of them onto my grill and I use a torch to burn off all of those glochidia (remember, those are the little hair like spines that I was talking about)
Wait, I don’t have one of those fancy crème brulee torches!
That’s fine! You can just use the flame from a gas burner or from a real fire.
The fire burns up all of the spines and glochids, which are very flammable.

Fun fact, when droughts get really bad in Texas there isn’t a whole lot of vegetation for livestock to forage, so ranchers will sometimes burn off the spines of these cacti so that livestock can eat them.
Next step: peeling. You don’t have to peel the entire thing, just the places where the spines grow – just to be safe. Give the edges a little trim too.

Okay, so that’s it… if you’re using the cactus pads whole. At this point some people grill them as is.
However, there are a few extra steps I recommend if you want to reduce some of that sliminess.
I cut the pads into little battonets (French term that basically just means little sticks – this is actually the size that most French fries are cut to)
I give them a little rinse just to wash off any burnt remnants of the spines, and let them drain.

This next part is, for me anyway, the crucial step. This should be a walk in the park for you if you’ve ever cooked eggplant (although I prefer to call them “aubergines.” It just sounds so much more elegant and delicious. “Eggplant” sounds so drab and unappetizing. Eh, perhaps I’m just pretentious. In any case that’s an article for another day)

What you want to do is cover your nopalito batonets with salt.

This actually accomplishes multiple things. First off, obviously, you’re seasoning them. Salt is critical for vegetables. There’s a whole world of difference between a plain avocado or tomato and one that’s got that sprinkle of salt. Salt brings out all the natural flavors in foods and makes them taste more like themselves.
The second thing salting the nopalitos does is to draw out the water. Water is the main component of that unappetizing goo that comes out when you cut these guys open. Ergo, the nopalitos are both seasoned AND have a more palatable texture. I call that a win-win.

When I did this I left the nopalitos for about 5-10 minutes. I was a little late to harvest them this year, but next year I would love to do an experiment on how different lengths of time affect the end result.
After you’ve left the salt to work its magic, scrape it off and give them a rinse and drain and you’re good to go!
Quick note – because you’ve already added salt to your nopalitos if you’re using a recipe that calls for salt proceed carefully. Overseasoning is a quick way to ruin a dish. Just taste as you go and make sure everything tastes balanced.
I hope you enjoyed my guide to getting nopalitos ready for cooking! Next time I’ll share my recipe for tempura.

